Your Cart is Empty


Fabric Moth Tutorial Part 2
Hi there! I'm so glad you're back for part 2.
If you don't have your free PDF pattern:
Click here to download your free PDF moth pattern.
You've got your pieces cut and your sewing machine threaded up, let's dive right in.
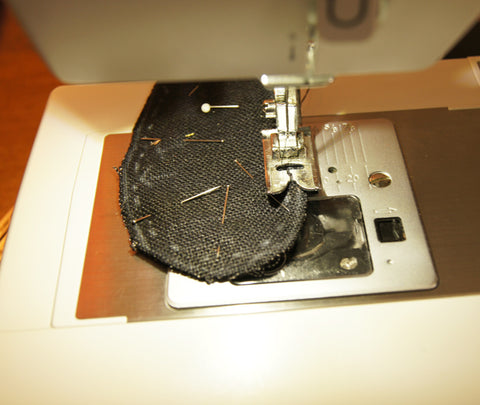
(The text refers to the photo beneath it.)
Sewing and stuffing the body
The first step is to pin your two body pieces together, right sides together. For a linen like this, both sides are the same so it didn't matter. I usually draw my seam allowance, which is 0.5 cm, onto the fabric in a dashed line. I then can follow it easily around the curves when sewing. For dark fabric, use a chalk pencil, or a Conté crayon. For light fabric, you can use a frixion pen in any color that will show up the best.
Your seam gauge should have inches and centimeters.

Mark the intersection of these seam lines (where they meet at the point of the body) with a different color dot. I used a red Conté crayon. You will pivot at this point.

Mark the starting and stopping point of your seam, as shown on the paper pattern. You'll leave this open for turning and stuffing.

Set your machine on straight stitch, with a stitch length of between 2 and 3, but closer to 3.

Stitch seam of body leaving opening between the lines marked on the pattern.

Next, reinforce the point by stitching again over first stitching. I have done this in contrasting white so that you can see it. But you can use the same color thread. Then stitch a zigzag stitch around raw seams to finish and add more reinforcement. Avoid sewing the very tip of the point.

Now, cut off the fabric at the very tip of this pointy side of the body. This will make stuffing easier.

Now's the time to turn your body right side out. Use a chopstick and push it into the point to get it turned completely.

Next stuff your body using small pieces of fiberfill at a time, stuffing the ends first and then move to the middle. Don't try to stuff using large wads of fiberfill, as it will clump and you'll get a lumpy body. Go slowly and stuff your body tight.

Your stuffed body should be firm and evenly stuffed.

I finished the opening by folding in the rough edges and sewing th opening using a whip stitch with Cordonnet thread (Button Craft thread) which is very strong. Here's a photo of the velvet body where the stitches are easier to see:

Sewing the upper wings
Pin your chosen stiffener fabric (here, burlap) to the wrong side of your backing fabric. You want the pretty side (the right side) of your backing to be visible as we will see it if we look at the back of your finished moth. My backing is solid yellow.

Pin along the edges, as this is where you will stitch.

Stitch a straight stitch around the edge of the wings at 0.5 cm from edge as measured by your seam gauge. I stitched with the burlap side facing up, as it sheds fibers which are easier to control if they are facing up.

Set your machine to a zigzag stitch. I used a fairly wide stitch but not too tight. This is just to consolidate these layers before adding the main fabric. Stitch along outer edge.


Now you're ready to place the main fabric face up (right side up) onto the burlap layer. The burlap (or whichever stiffener you've chosen) will be the middle layer.

Pin around the edge; this is where you will stitch.

You'll choose which thread to use for the edge. I ended up going with black polyester thread, for a dark outline.

Stitch one time around the edges of the three layers to hold them together. I used a wide and long (not too tight) zigzag stitch.

Then stitch once or twice around again with a zigzag stitch in the same width, but a shorter length (stitches closer together), to create a bold graphic line.
This makes a total of three times stitching around the edges for this piece as I wanted a very dark line.

Here's the back:

Stitching the veins on the upper wings
Next up: marking your veins on the fabric so you can sew along those lines.
You can use tracing paper and a wheel, or a frixion pen, which disappears with heat. Once the veins are stitched, you can iron your wings on the backing side at a low setting and your frixion pen lines will disappear.

For demonstration, I will do one wing in each marking method. First, the tracing paper method.

Pin your pattern piece to the backing, one pin near the middle is enough. line up the outer edges of pattern with wing, and slide the tracing paper, colored side towards fabric, between fabric and pattern. Hold it firmly with your finger.

Use your tracing wheel to run over all the vein lines, thus transferring the markings to the backing fabric. Do not use this method on the main fabric, the front of your moth wings, as they will not come off.

Here's what it looks like:

Here's the frixion pen method, which I prefer.
Lay the pattern over the other wing, pinned in center. Align the edges and mark the veins using pins pricked through the pattern into the fabric, along the topmost vein first. Carefuly lift up the pattern from the outside towards the center, marking a dot at each pin prick (the pin will have left a tiny hole in the fabric.


Align the pattern over the wings again, and continue with this pin prick method, proceeding top to bottom, outside to inside.

And then, connect the dots!

And your wings are ready for their stitched veins!

Because I used very dark main fabric, I marked the veins on the backing. If you have a fabric in a lighter color, you can mark them directly on the front main fabric using the frixion pen method and then lightly iron your wings with a pressing cloth to make the lines disappear, after stitching.
If you have a dark main fabric as in this case, you are going to stitch the veins once on the back, and this will give you stitching lines to follow so you can then stitch them on the front of your wings.

I decided to use the Decora Rayon embroidery thread size 12. It's thicker than regular sewing thread and will stand out more on this thick fabric. For this type of thread, I suggest using machine embroidery needles, they have bigger eyes, and the thread goes through easier.

I stitch the veins on each wing separately, starting in the middle. Stitching the top vein first, pivoting at the end of the top vein, going back and stitching over the other vein markings, outside to inside, down and back up each vein. Each vein is double stitched. Refer to stitch guide drawings on pattern as this is hard to explain.

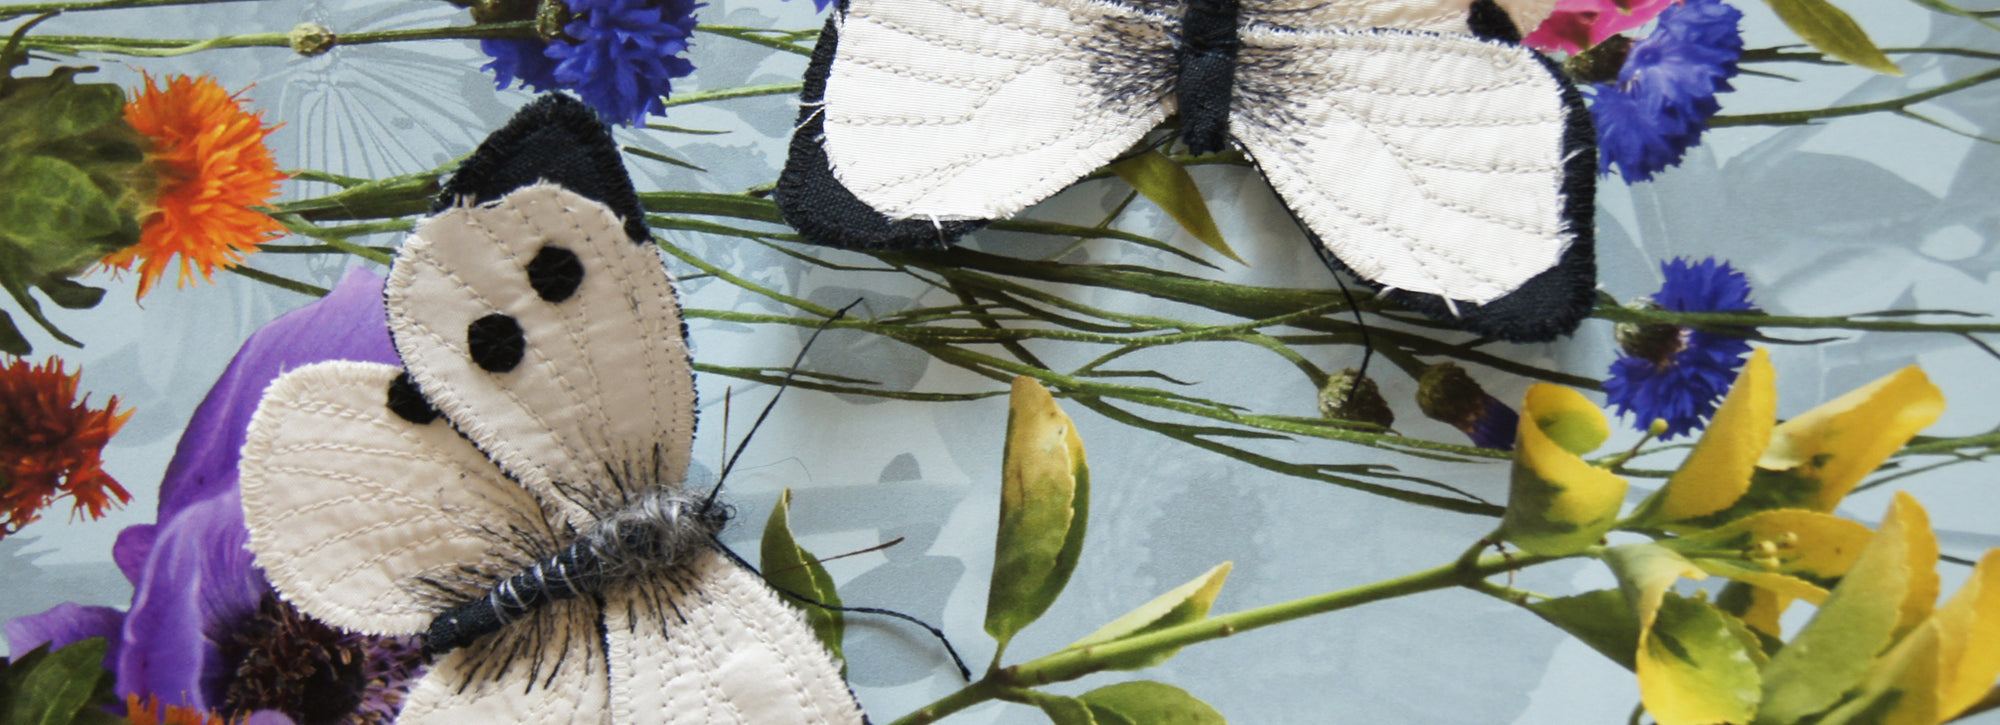
You can see the different textures produced by the thick fabric, the edging stitches and the veins done in thicker embroidery thread.
Well done! Bravo!
In part 3, you'll sew the underwings and you'll see your creation come to life as you assemble the parts and add some details.
See you soon.
Click here to download your free PDF moth pattern.
Leave a comment
Comments will be approved before showing up.
Also in News


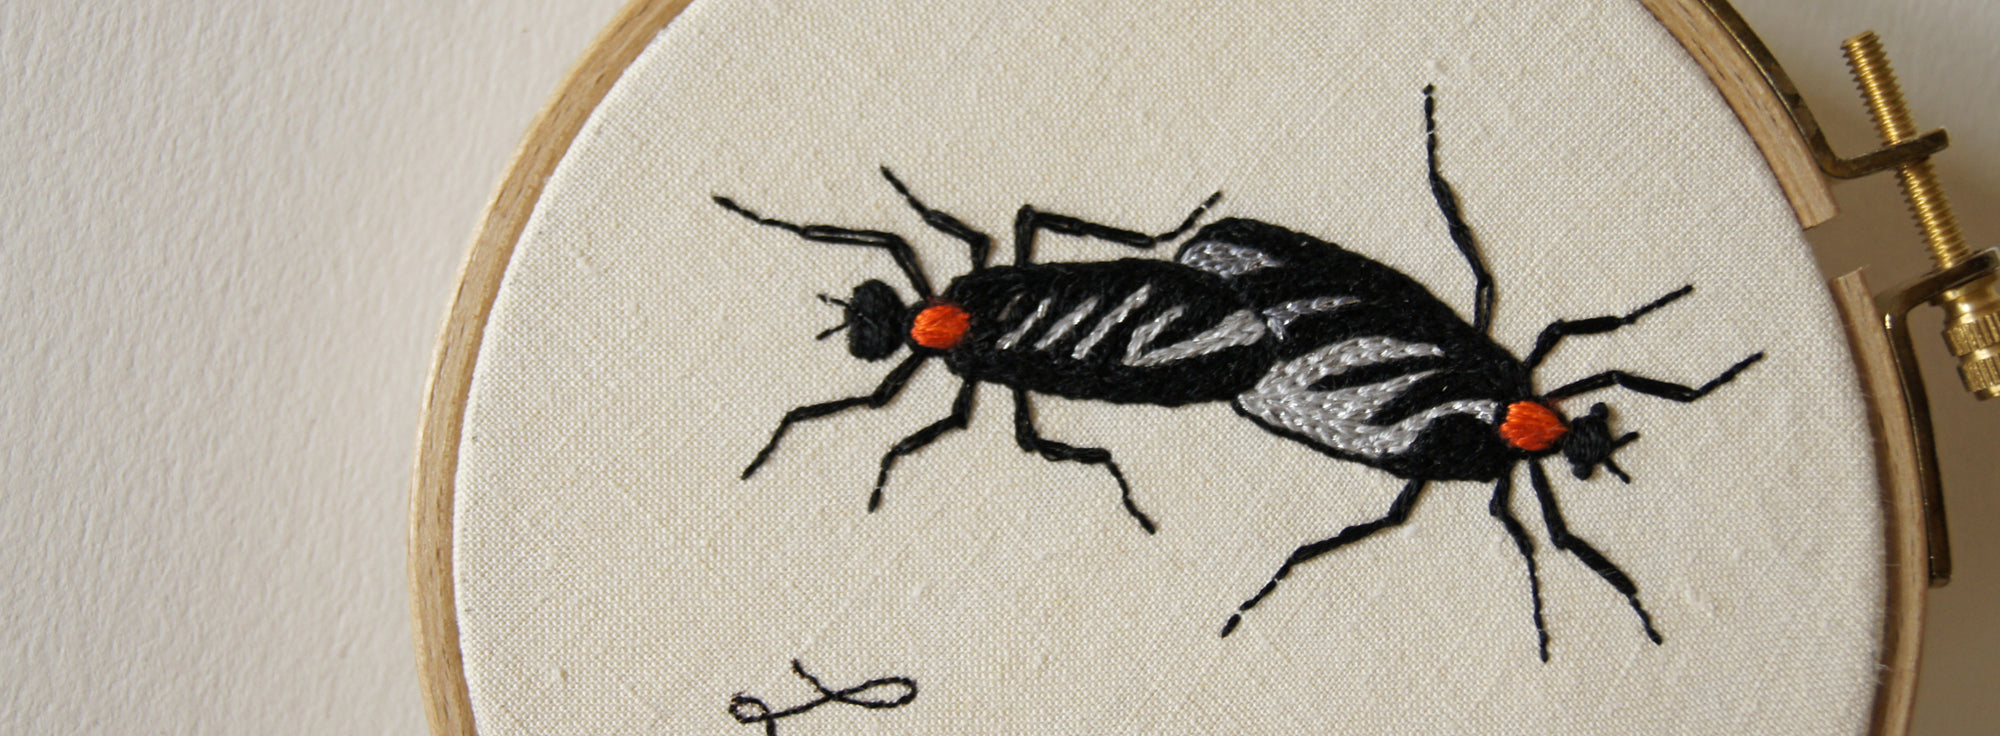
Lupercalia and lighthearted love bugs
Since many of us are nudged towards expressing our love through gifts in mid-February (admittedly, we can use all the gifts we can get, or give ourselves, these days) I thought it might be the moment to offer you a lighthearted embroidery pattern.
Read More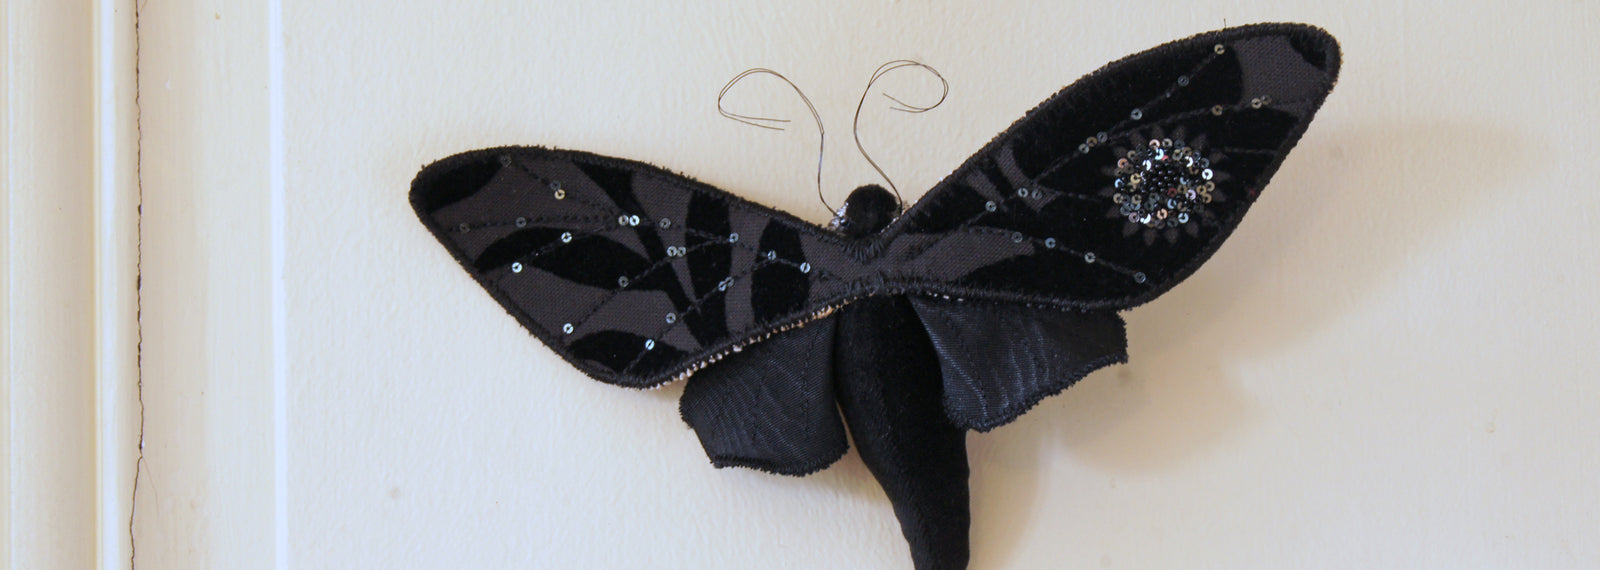

Tell & Show
A fear of messing up and wasting the viewers’ time came back each week, until I noticed that it felt fun to get on camera.